Introduction
Overview
Welcome to the Shadow Reapers Dynamic Campaign DCS Server! This guide is designed to help you understand and navigate the intricate and multifaceted campaign system I have developed. My mission is a complex, multi-target, highly dynamic system that includes various integrated features, which I will discuss in detail throughout this manual.
The dynamic campaign is fully randomized, ensuring each start is unique with different locations for factories, power generators, and SAM sites every time. Player and AI choices add further randomness, creating new storylines and mission orders. The HQ/General AI generates missions based on the team’s current state, making the campaign unpredictable—even for me, the designer. This unpredictability is what I love most about the campaign. It has been completed by players many times, and no two playthroughs have ever been the same.
Key features of the campaign include:
- Team/Squad System: Players can join each other to form teams or squads to undertake cooperative missions, enhancing the collaborative gameplay experience. Flying in formation will add XP points.
- Mission System: A robust framework that generates dynamic missions based on the current state of the campaign.
- Zone System: Highly complex zone system, includes supply management and electricity/power production, with interconnected power lines, build and rebuild and more.
- Morale System: Influence enemy morale through successful operations.
- Propaganda: Reducing and increasing morale of friendly and enemy zones by send propaganda messages using TV Towers.
- Factory/Oil Production: Critical infrastructure that affects the overall war effort.
- Espionage: Engage in intelligence-gathering operations to gain strategic advantages. Zones with enemy neighbour can spy on enemy zone at the cost of getting spied on too! Frontline between friendly and enemy is under Espionage operations, Choppers can deploy spies on other zones to increase range of espionage to behind front lines.
- Capture Zone System: Allows for the capture and control of strategic areas.
- Ranking and XP System: Players earn experience points (XP) and ranks, reflecting their progress and skills. They also receive tokens that can be spent on favors such as marking mission targets with smoke or deploying a JTAC drone.
- EWR: Providing users with ground/AWACS radar BRAA calls about enemy air units.
Purpose and Goals
The main objective of the campaign is to clear the map of all enemy zones by either destroying their morale or eliminating all strategic structures and armored vehicles within those zones. Players have the opportunity to capture enemy warehouses, factories, and power production lines, making it crucial to avoid unnecessary destruction of these assets. Strategic planning and careful execution are essential to achieving victory.
Choppers play a vital role in the campaign by transporting supplies, deploying infantry, and conducting special operations to capture or neutralize zones. They can also engage in search and rescue missions and provide close air support. Fighter aircraft are tasked with maintaining air superiority, intercepting enemy aircraft, and escorting high-value assets. Attack aircraft focus on ground targets, providing close air support, conducting strikes on enemy infrastructure, and participating in suppression of enemy air defenses (SEAD) missions. Each role is crucial in achieving the overall objective and requires coordination and precise execution to ensure success.
Throughout this manual, I will provide detailed information and guidance on each component of the campaign, helping you to effectively contribute to the Shadow Reapers’ success.
PvP Server Differences
PvP servers are similar to PvE servers, but there are a few key differences outlined below:
- More capable jets cannot be spawned from front-line airports. These restricted airports are marked with the “Limited Spawn” text. Unlimited airports are marked with gold/yellow color. This range is based on era of the campaign and it is between 40nm to 55nm. If there is an enemy airport within said range zone will be marked as “Limited Spawn” and only certain less capable aircrafts will be spawnable from that air field.
- There is no need to capture all zones, A team with only 3-5 airports or less than 10% all zones remaining will lose the campaign if their HQ AI determines that victory is impossible. The number of airports to lose and zones to lose periodically is displayed as a game message and server warns about how close win/lose is for a side.
- Destroying enemy player aircraft causes an 8% morale loss in their spawn zone and %4 morale gain for your spawn zone. Losing too many player aircraft can result in the evacuation of that zone/airport.
Interaction with Missions
To interact with missions, you can use both the DCS chat, accessible by pressing Ctrl+Tab, or the communication menu (the same menu used for rearming and refueling) and navigating to F10 (Other). Here are the steps to interact with missions:
Listing Missions:
- Chat Command: Use
/listor/lin the DCS chat to list available missions. - Communication Menu: Navigate through the communication menu to list missions.
- You will receive a message containing the current available mission list.
- Chat Command: Use
Joining Missions:
- Each mission has a unique 3-digit join code.
- Chat Command: Use
/join 123or/j 123where123is the mission’s join code. - Communication Menu: Use the menu to join a mission by entering the join code.
Squad System:
- Each player has a unique 3-digit code that can be shared with a friend to join the same mission.
- When a player joins another player, they become squad members.
- Squad Rules:
- Squad members cannot select missions; only the squad leader can choose the mission.
- If the leader dies or leaves the team, the next player with the most experience becomes the team leader.
- Gaining Experience Points (XP):
- You gain XP as you complete missions. You receive 10% Tokens for each XP you gain which you can use later to buy favors.
- You must land to collect your points.
- If you eject, you will receive only 10% of your collected XP.
- The more missions you complete, the higher your XP multiplier, up to a maximum of 2x. This multiplier resets if you leave your current aircraft or die.
Logistics/CTLD for Helicopters(with transport capacity):
- Supply Load/Unload: Accessible via the communication menu, this feature allows you to transport supplies between zones, ensuring your teams have what they need to succeed.
- Squad Load/Unload: Also available through the communication menu, this feature enables you to transport infantry and special ops groups to designated zones. Upon arrival, infantry groups will capture all structures and zones if no enemy fighting units remain. Special ops groups, on the other hand, will dynamically target and destroy essential structures, ships, and resources based on your mission specifications.
Commands:
- Leave Team: Use
/leaveto exit your current team. - Cancel Mission: Use
/cancelto cancel the current mission. - Current Mission: Use
/cor/currentto see current mission info + debrief from the last mission. - Current Stats: Use
/statsto check your XP, Tokens and rank. - Help: Use
/helpto check all other available commands.
- Leave Team: Use
Favors:
- You can ask mission to spawn smoke or JTAC drone on your mission targets, these favors are available using
/smokeand/jtac deploychat commands or alternative communication menu way.
- You can ask mission to spawn smoke or JTAC drone on your mission targets, these favors are available using
Here are all available ranks to achieve by gathering XP:
| Rank | XP Required |
|---|---|
| E-1 Airman Basic | 0 |
| E-2 Airman | 2000 |
| E-3 Airman First Class | 5000 |
| E-4 Senior Airman | 8000 |
| E-5 Staff Sergeant | 16000 |
| E-6 Technical Sergeant | 21000 |
| E-7 Master Sergeant | 26000 |
| E-8 Senior Master Sergeant | 32000 |
| E-9 Chief Master Sergeant | 38000 |
| O-1 Second Lieutenant | 70000 |
| O-2 First Lieutenant | 80000 |
| O-3 Captain | 90000 |
| O-4 Major | 100000 |
| O-5 Lieutenant Colonel | 125000 |
| O-6 Colonel | 150000 |
| O-7 Brigadier General | 250000 |
| O-8 Major General | 500000 |
| O-9 Lieutenant General | 1000000 |
| O-10 General | 3000000 |
By following these instructions, you can effectively interact with missions and manage your squad, ensuring a dynamic and engaging gameplay experience in the Shadow Reapers Dynamic Campaign.
Mission Types
BAI (Battlefield Air Interdiction):
- Objectives: Disrupt enemy forces and supplies behind the front lines.
- Targets: Enemy convoys, supply depots, and infrastructure.
CAP (Combat Air Patrol):
- Objectives: Maintain air superiority over a designated area.
- Targets: Enemy aircraft entering the patrol zone.
CAS (Close Air Support):
- Objectives: Provide direct support to ground troops engaged with enemy forces.
- Targets: Enemy ground units in proximity to friendly forces.
CSAR (Combat Search and Rescue):
- Objectives: Locate and rescue downed pilots or stranded units.
- Targets: Extract personnel safely from hostile or contested areas.
Escort:
- Objectives: Protect high-value assets such as transport aircraft or convoys.
- Targets: Enemy aircraft or ground threats to the escorted unit.
Intercept:
- Objectives: Identify and neutralize incoming enemy aircraft or missiles.
- Targets: Enemy bombers, fighters, or missile threats.
Liberate:
- Objectives: Capture and secure enemy-held zones.
- Targets: Enemy ground forces and strategic structures within the zone.
Recon (Reconnaissance):
- Objectives: Gather intelligence on enemy positions and movements.
- Targets: Survey specific areas and report findings without engagement.
Runway Bombing:
- Objectives: Render enemy airfields inoperable.
- Targets: Enemy airport runways.
Strike:
- Objectives: Destroy high-value strategic targets.
- Targets: Specifid in mission description like Factories, command centers, power plants, and other critical infrastructure.
Transport Squad and Supply:
- Objectives: Deliver troops or supplies to specified locations.
- Targets: Ensure safe delivery to bolster friendly positions or support ongoing operations.
SEAD (Suppression of Enemy Air Defenses):
- Objectives: Neutralize enemy radar and surface-to-air missile (SAM) sites.
- Targets: Enemy SAM sites, radar installations, and anti-aircraft artillery.
DEAD (Destruction of Enemy Air Defenses):
- Objectives: Permanently destroy enemy air defense systems.
- Targets: SAM sites, radar installations, and related infrastructure.
Player Roles and Responsibilities
Solo Missions:
- Pilot: Complete the mission objectives independently, using skills and equipment tailored to the mission type.
Squad Missions:
- Squad Leader: Select and manage missions, coordinate squad activities, and ensure mission objectives are met.
- Squad Members: Follow the squad leader’s instructions, support mission objectives, and perform roles as needed (e.g., flying support aircraft, providing ground support).
By understanding the different mission types and player roles, you can effectively participate in the Shadow Reapers Dynamic Campaign, ensuring a successful and engaging gameplay experience.
Frequencies Guide
In the Shadow Reapers Dynamic Campaign, effective communication is essential for mission success. This guide will help you understand the default and dynamic frequencies used throughout the campaign.
Default Frequencies
- Campaign Common Frequency:
- Primary: 321 MHz
- Secondary: 127 MHz
- ATC: 121 MHz
These default frequencies recommended be used for general communication and coordination among players.
Dynamic Frequencies
During the campaign, specific assets such as AWACS, Tankers, and Ships will have dynamic frequencies assigned. These frequencies can change based on the current state and requirements of the campaign.
To obtain the current dynamic frequencies:
Using Chat Command:
- Type
/freqin the DCS chat to receive a message with the current dynamic frequencies.
- Type
Using Communication Menu:
- Navigate to the communication menu and select the appropriate option under
F10 (Other)to view the Show Frequencies.
- Navigate to the communication menu and select the appropriate option under
Asset-Specific Frequencies
AWACS (Airborne Warning and Control System):
- Provides situational awareness and coordination for air operations.
Tanker:
- Used for mid-air refueling operations. Dynamic frequencies are crucial for coordinating refueling procedures.
- Frequencies include Radio and TACAN.
Ships:
- Naval assets involved in the campaign will have assigned frequencies for communication and coordination.
- Frequencies are Radio, Link4, ICLS and TACAN.
By keeping track of these frequencies and adjusting your communication systems accordingly, you can ensure seamless coordination with all assets involved in the campaign. Always verify and update your frequencies as necessary to maintain effective communication throughout your missions.
Zone System
The campaign is divided into different zones, each with specific waypoints that, if supported by your aircraft, you can dial in and use for navigation. Be aware of the limitations of your aircraft; for instance, the F-16 has only 50 waypoints/steerpoints and specific datalink steerpoints. You will receive the waypoint of your target mission in your mission briefing.
WAYPOINT 1 IS ALWAYS YOUR HOMEBASE UNLESS YOU ARE TAKING OFF FROM CARRIER!
Zone Connectivity and Functionality
- Interconnected Zones: Zones are interconnected to provide supply, electricity, and morale support.
- Neutral Zones: These zones do not offer these features until captured.
Zone Connections
- Lines between Zones:
- Dashed Line: Indicates no road access; resources are sent using air supply convoys.
- Solid Line: Indicates road access; resources and power can be transferred via roads.
- Back Line: Supplied automatically.
- Front Line: These are connected with colors not pure to color of zone to an enemy/neutral neighbour, line colors are like purple, light red and light blue, These are supplied using AI helicopters and player-controlled helicopter/plane supply missions.
Power and Resource Management
- Power Supply: Zones with road access can share power, creating an interconnected network where even a single production line can power the entire system. Access to electricity improves production rates and morale recovery.
- Resource Structures: Avoid destroying warehouses, factories, and power production facilities to capture and use them instead.
Resource levels below 5000 are considered critical, causing the zone to prioritize resource gathering. Critical zones cannot supply infantry squads to helicopters, and helicopters cannot deplete resources to a critical level by requesting squads or supplies.
Capturing Zones
- Neutralizing Zones: Destroy all enemy armored units and strategic structures such as barracks, command centers, FARP tents, FARP fuel depots, FARP ammo depots, and TV towers to neutralize a zone.
- Deploying Infantry: Capture a zone by deploying helicopters and dropping infantry squads. A zone can be captured directly from enemy control if there are no remaining enemy units. Deployed infantry will engage ground units immediately and capture the zone within a few minutes if no enemy units remain.
IT IS BETTER TO CAPTURE A ZONE FROM ENEMY CONTROL RATHER THAN NEUTRALIZING IT;
THIS WAY, YOU CAN ALSO TAKE OVER ENEMY STRUCTURES LIKE BARRACKS AND COMMAND CENTERS.
Morale System
- Morale Levels:
- Critical Morale: If morale drops below 25%, the zone will be evacuated after 5 minutes unless morale recovers above the critical stage. If morale drops below 10%, the zone will be evacuated immediately.
- Impact on Production: Morale affects production rates and the effectiveness of attack/defense deployments.
- Friendly Neighbours: Friendly neighbours will help morale recovery, a zone with no friendly neighbour will lose morale until complete evacuation.
Strategic Structures
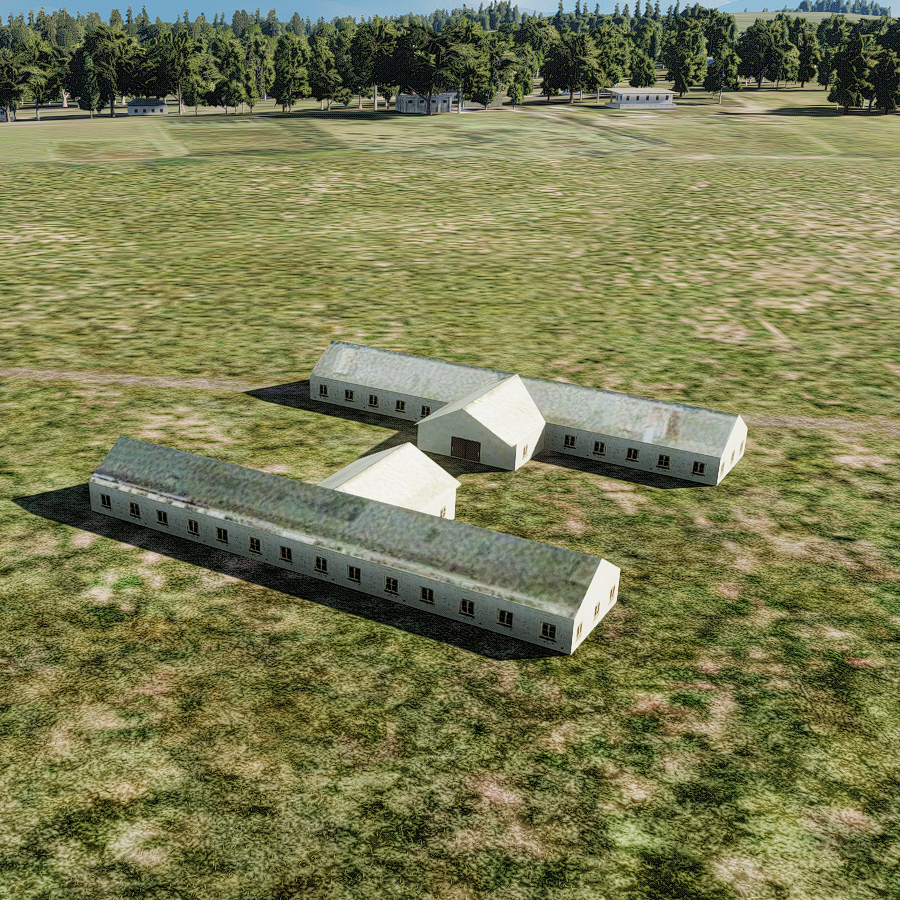
Barracks
Provide and hold personnel, improving production and rebuild speeds.
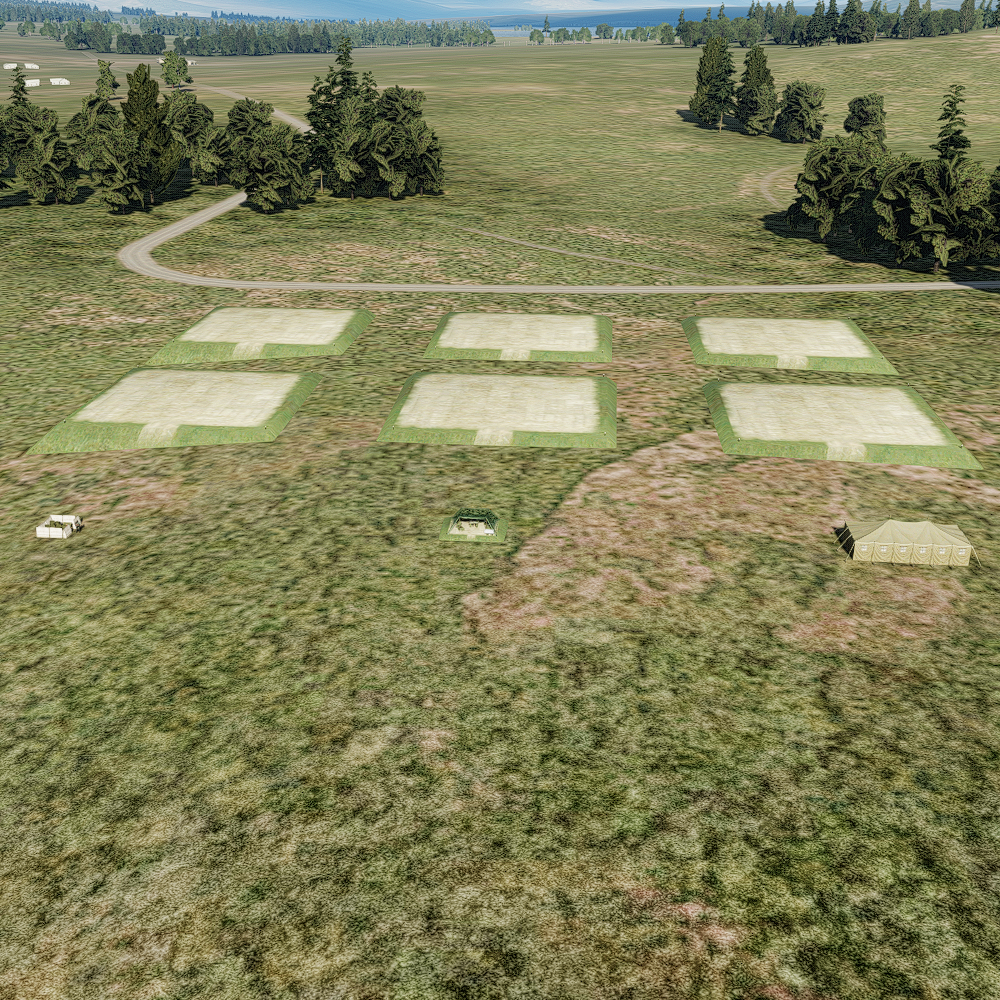
Farp Ammo/Fuel/Tent
Provide ammo and fuel to choppers, Tent provides small amount of personnel.
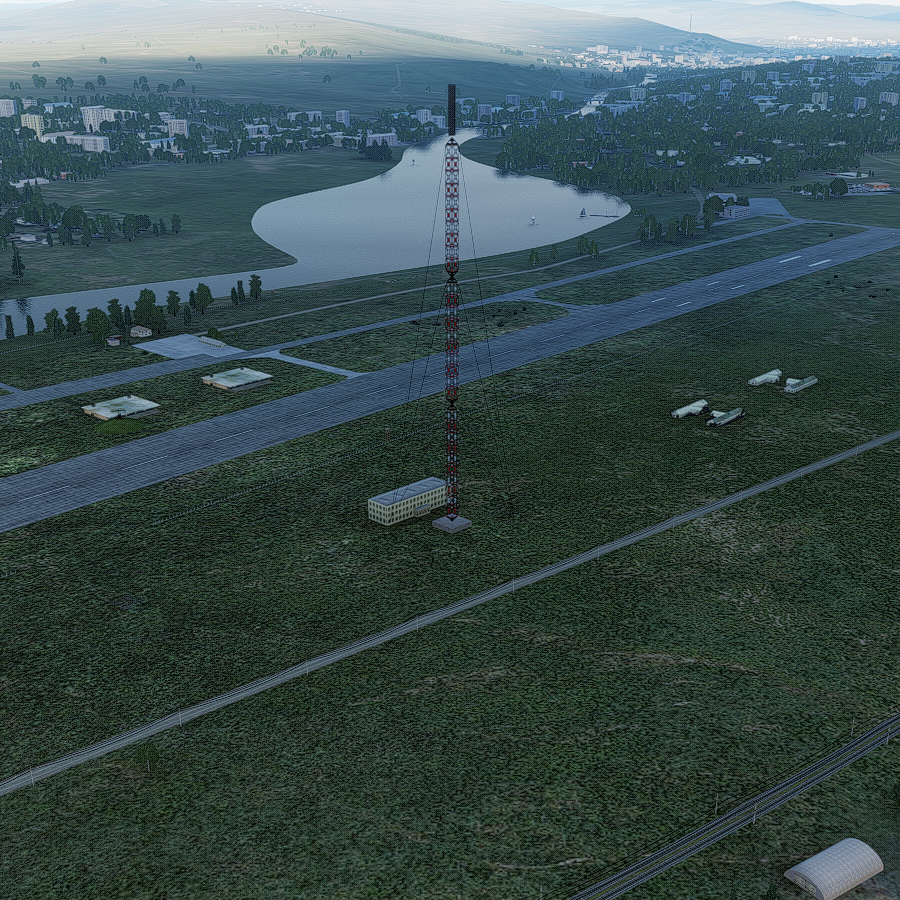
TV Towers
Increase morale of friendly neighboring zones and decrease morale of enemy neighbors.
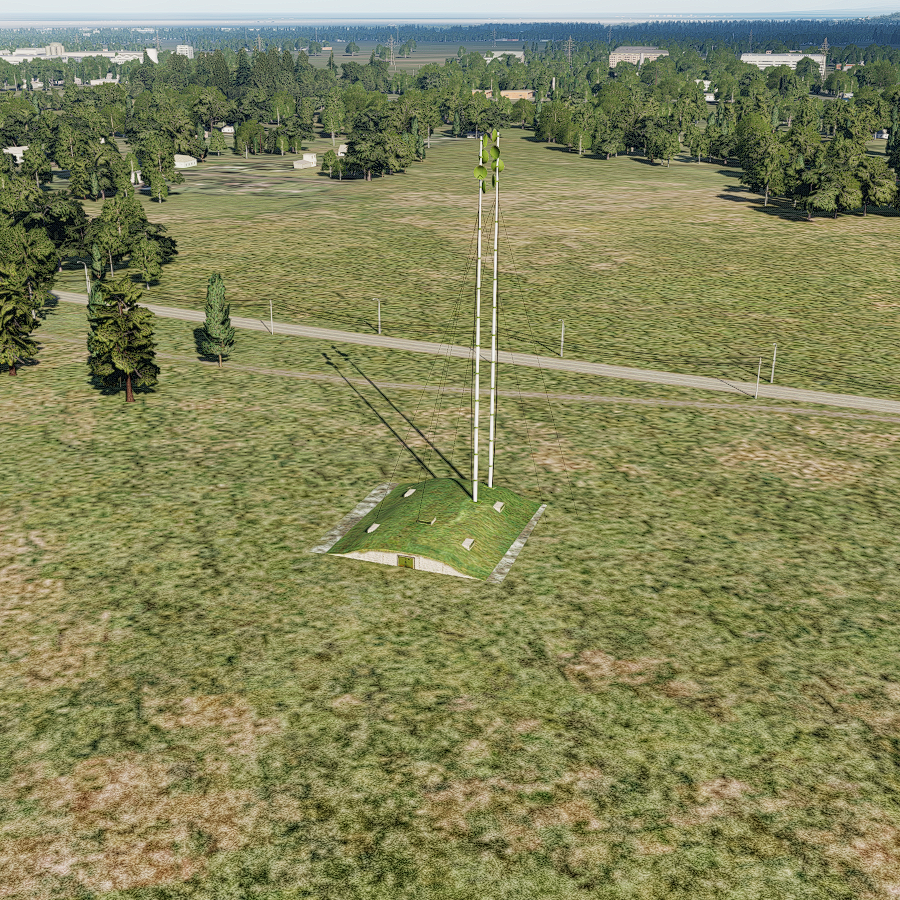
Command Centers
Improve morale recovery and mission execution. Destruction of it will result in a massive moral loss.
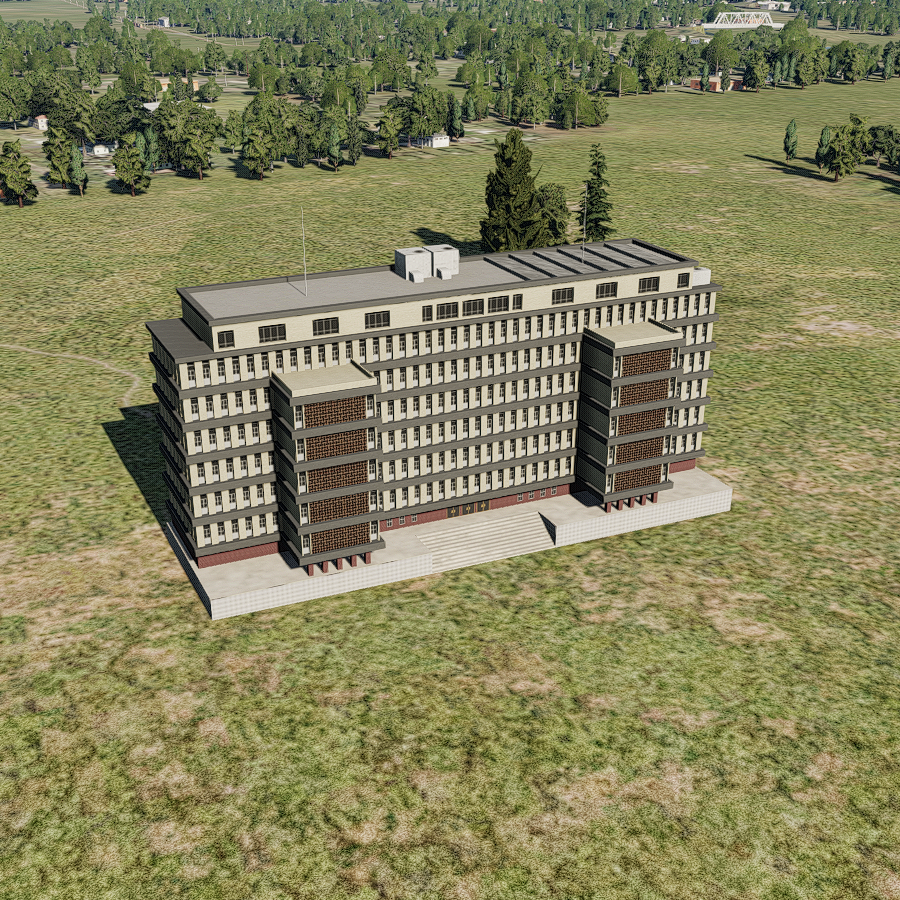
HQ Building
Improve morale recovery and mission execution. Destruction of it will result in a massive moral loss.
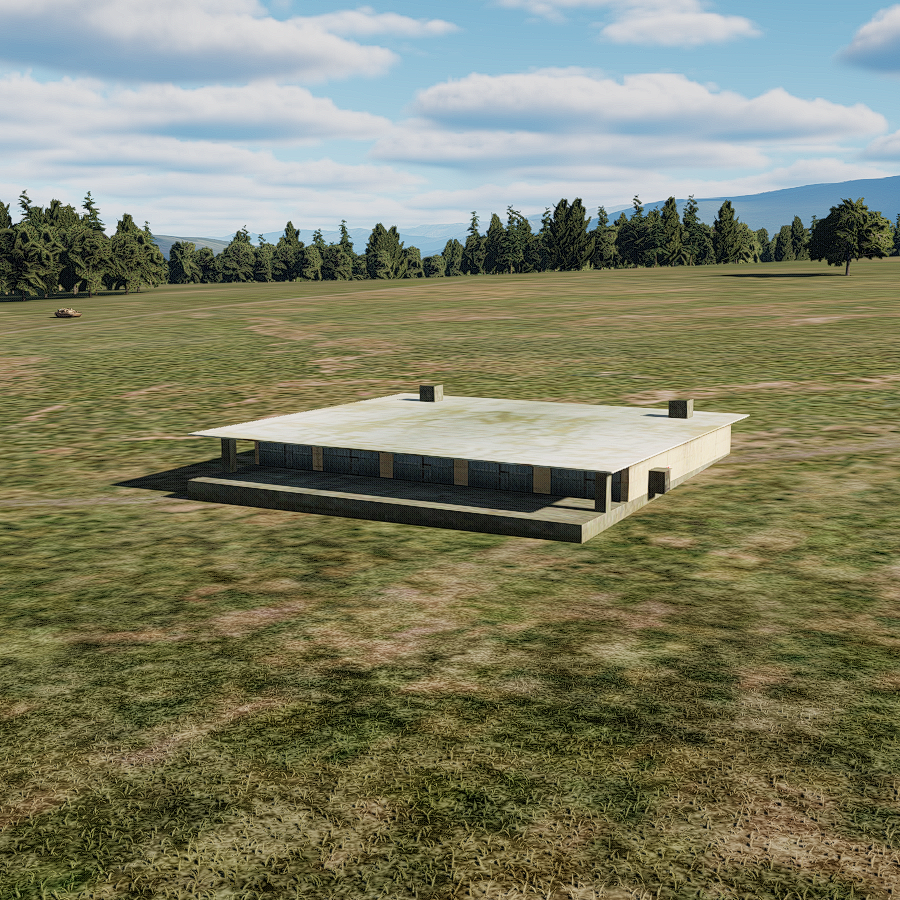
Warehouses
Store resources for the zone.
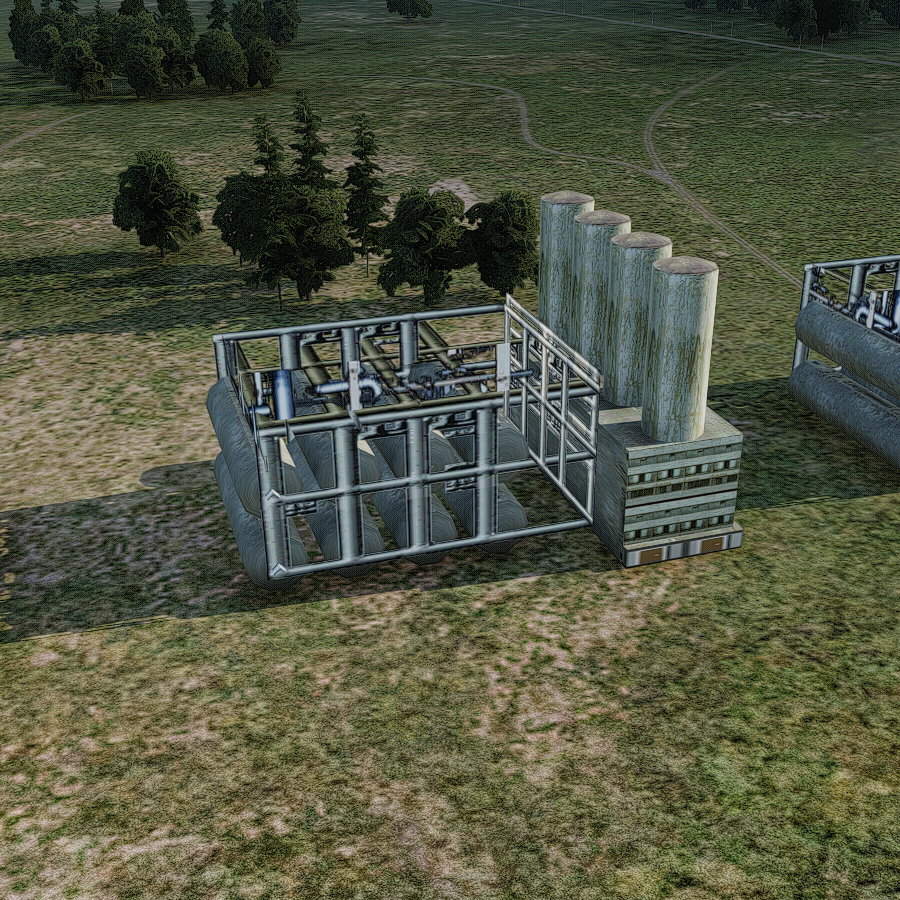
Resource Factory
Produce resources every minute, which can be supplied to other zones using connections or convoys.
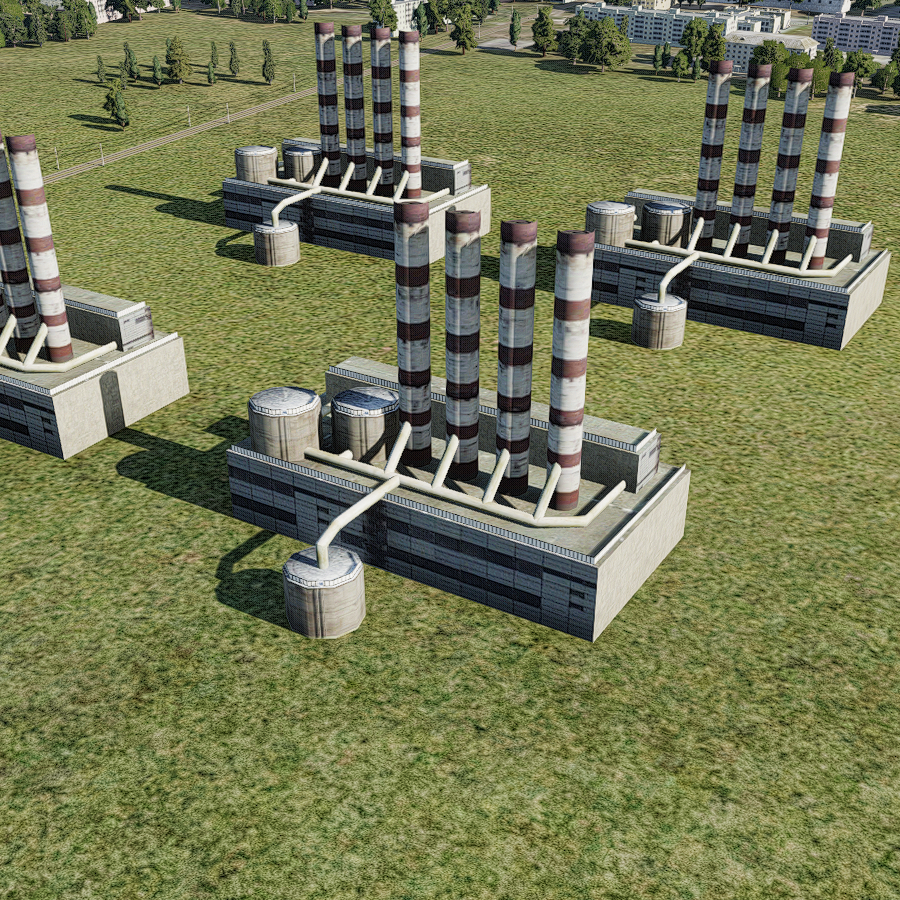
Power Factory
Produce power for zone and provides power for grid through friendly road accesses for neighbours and neighbours of neighbours and etc.
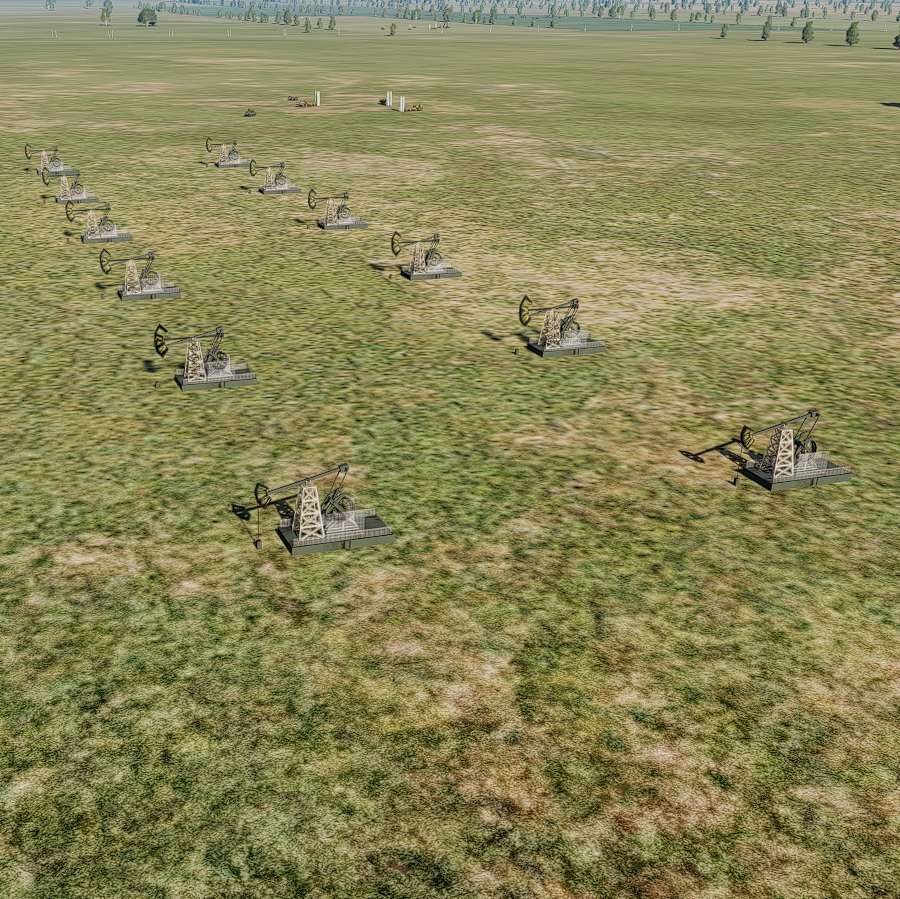
Oil Pumps
Produce resources every minute, which can be supplied to other zones using connections or convoys.
EWR Radars
Provide GCI BRAA calls to friendly aircraft.
Splash Damage
In the campaign, I employ a privately developed, highly optimized splash damage system. This system accurately calculates the impact of splash damage for every bomb, missile, and rocket in the game, ensuring realistic and precise effects during gameplay.
Special Conditions
- Runway Bombing: If an airport’s runway is bombed, it will be unusable by AI airplanes for an hour.
- Resource or Morale Critical Zones: Zones that are critical in resources or morale will not dispatch AI units and may restrict player spawns in the future.
By understanding and managing the complex zone system, you can effectively contribute to the success of the campaign, ensuring efficient resource allocation, morale management, and strategic zone captures.